Margherita Pizza History
Italian artisan pizza oven
When you are making Pizza Dough you need:
Flour’s Choice

- Flour Ancient Napoli “0” – Molini Ambrosio
If you are making Pizza Dough you need to choose the right flour.
Flour is composed by proteins (9-15%) and starch (64-74%).
The greater the flour’s “w” power, the greater will be the protein content such as Glutenin e Gliadin, which reacting with water create gluten.
Gluten is crucial since it creates a layer called “Gluten Mesh”strong enough to hold gases that the leavening phenomenon create. With a greater flour’s “W” Power we will ensure a higher quantity of gluten and we will then have a stronger mesh.
With variation in the flour’s strength there is variation in the dough’s capacity to absorb water:
Weak Flours
Between 90 e 160 “W” absorb water for the 50% of their weight.
Medium Flours
Between 160 e 250 “W” absorb water for the 55% – 70% of their weight.
Strong Flours
Between 250 e 330 “W” absorb water for the 70% 85% of their weight.
In order if you are making Pizza Dough effectively you need to choose the right flour in order to best manage the dough’s hydration and the correct timing of the maturation, which varieties according to the “W” power.
Leavening is another crucial step in relation with the strength of the flour.
With a greater strength of the flour we will have a slower leavening, which will favor the maturation of the dough.
For our doughs we use Molini Ambrosio’s flours .
Making Pizza Dough:
Choice of the Right Yeast
In order if you are making Pizza Dough crucial element that you certainly can’t miss is yeast.
Yeast is nothing other than microscopic fungi that when mixed with water and flour begin a process called leavening.
La The leavening process begins when the fungi that compose yeast feed of the sugar unleashed from the breaking down of the flour’s proteins.
This process leads the sugar to transform in CO2.
The unleashed CO2 will be held by the gluten mesh, which will keep it inside creating several small bubbles massively important for a soft dough.
The fresh brewer’s yeast is the perfect choice for the Neapolitan pizza.
Making Pizza Dough:
Choice of Water to Make Pizza Dough
For as cliché as it sounds the choice of water is crucial for the success of our pizza.
Experts that know how to make Pizza Dough know perfectly well that water needs to be tasteless, odorless and highly pure.
One needs to consider especially the “hardness”, which is the quantity of Calcium present inside.
Hardness is measured in F° (French Degrees), with specific regard to Calcium and Magnesium in grams/100l.
To make Neapolitan pizza we have the following parameters concerning water in F°
Weak Water
- Mines of 5 g F°
Right Water
- Between 5-20 F° (perfect water)
Strong Water
- Higher than 20 F° will have too much hardness.
People than know how to making Pizza Dough are well aware that a high quantity of Calcium will destroy our leavening and the formation of the Gluten Mesh.
It is advisable to use tap water if the value of Calcium is between 5-20F°.
In case the hardness would be too high we can opt for natural bottled water that will respect the right values when you are making Pizza Dough.
In the case that our Calcium parameter is too low, we can add salt to compensate for the low hardness of the water.
The water PH must be slightly acid between 6-7.
Water’s Temperature and the Rule of 55 when you are Making Pizza Dough
The rule of 55 is a device that will help you to set the perfect water’s temperature when you are making Pizza Dough.
Following the rule of 55: water’s temperature + flour’s temperature + temperature of the surroundings = 55C°
For example if we have a temperature of the surroundings of 25 C° and we left the flour to the same temperature means that the water’s temperature must be of 5 C°.
Excessively warm water makes the dough too gummy, whereas water that is too cold could block our leavening.
These secrets will be golden for you when you are making Pizza Dough professionally.
Making Pizza Dough: Handmade Dough
Let’s prepare our dough:
For 1kg of flour “0” power between 260 and 300w
- 650ml of Water
- 2 g of brewer’s yeast
- 25g of salt
- 10 g of extra virgin olive oil
Making Pizza Dough with handmade dough:
Let’s Mix the Dough
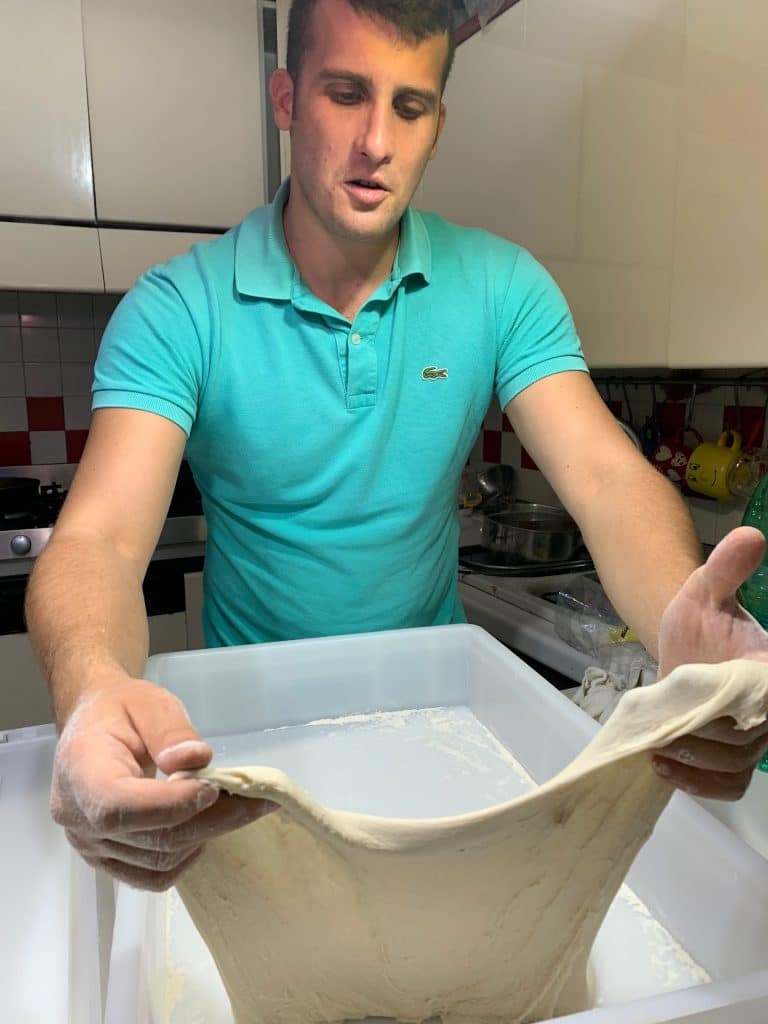
Sift the flour in order to decompose every possible clump.
Place the sifted flour in a bowl. Move the flour with your hands in order to let it breathe, making circular movements with your hands.
Fill a jar of cold water for 650ml respecting the 55-rule mentioned above.
Melt the yeast in the water so to activate the enzymes.
After a few minutes, the enzymes will be active and we can approach to the mixing.
In the meantime, a good ten minutes will have passed from the sifting of the flour, and it will be ready.
Slowly pour the water and yeast in the flour mixing homogenously, making circular movements with your hands inside the bowl.
During the mixing procedure, when the water will be almost completely absorbed, we can add salt and we continue mixing for 5 more minutes.
When you are making Pizza Dough bear in mind that the salt never touches the yeast directly. In this way, we would block the fermentation process.
Take a humid kitchen towel to cover the bowl and let it stay for 30 minutes, waiting for the “Gluten Mesh” to form.
Respecting the correct times will give an advantage when you are making Pizza Dough compared to commercial pizza places that for the sake of simplicity cannot wait long times.
Supporting Folds Application
Place a tiny amount of olive oil on a surface so not to have our dough stick.
The people that are making Pizza Dough professionally are well aware of the importance of the “supporting folds”in order to reinforce the dough’s mass twisting it with the gluten mesh: thanks to this technique, when you will spread the dough you will avoid possible holes.
Position the little dough ball on top of the surface, the same way that has rested for 30 min.
Spread the dough without applying pressure on the surface, but lifting it up with the fingers from below until we didn’t form a uniform square of 35x35cm.
Now, fold the spread dough in half and then fold it again. The surface on top should be the smooth external one that has rested before.
In so doing, we will have overlapped 4 layers of “Gluten Mesh”, that we will close with the “Mozzatura” technique in order to get a perfectly balanced and sealed sphere that will hold the gasses during the leavening process.
Replace the humid kitchen towel on top of the reworked dough, letting it rest for roughly another hour.
Shaping the Dough Balls
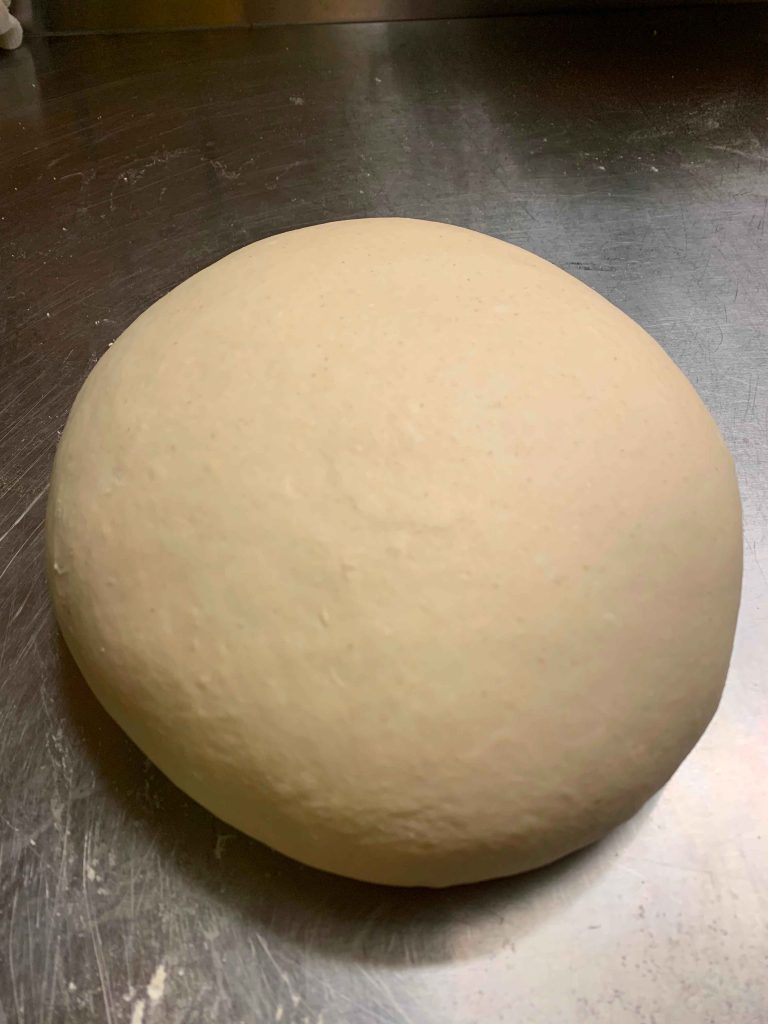
After an hour, just like professional pizza makers when you are making Pizza Dough you need to shape the dough balls.
This process is crucial to form equal and same-weight dough balls that will be the base for our pizza.
As a first step, start shaping the dough in a spherical form, without stressing it too much.
Then, cut the dough using an iron spatula, cutting vertically the dough and creating little amounts of dough of roughly 250/300g each (Neapolitan pizza dimensions).
Let’s move on with the closing up of the pats, using the “Mozzatura” technique. We need to be careful to keep the smooth part facing us while doing it, and folding it towards the base in order to incorporate air (needed for maturation). Complete the operation sealing the base.
First times you are making Pizza Dough you might feel a little overwhelmed, but don’t give up. “Success is not of whom begins, but of whose persists.”
Leonardo Da Vinci
Maturation Process
Now that we have realized our dough balls when you are making Pizza Dough we can move on to maturation phase:
When you are making Pizza Dough you need a good maturation?
We will need minimum 12 to 36 hours of maturation.
At this point we want to place the dough balls inside a box to be placed in the fridge. We need the box to be closed since in this way the gases will be preserved and the dough wont dry out.
In so doing, the low temperature of the fridge will block the leavening process, but the maturation will continue, allowing us to create a perfectly digestible dough, and will allow that you are making Pizza Dough better than the restaurant.
How to Match Maturation and Leavening
Considering that the peak of the leavening of the dough is at the 6th h, we need to keep in mind that, especially with the stronger flours, we will have to put the dough in the fridge (4 C°) after 2h of leavening. In this way, we will block the leavening process, forwarding the maturation.
After the 12-36h of maturation (depending on the flour’s power), we can take the dough out of the fridge, keeping it at room temperature for 4 h.
Leavening Phase
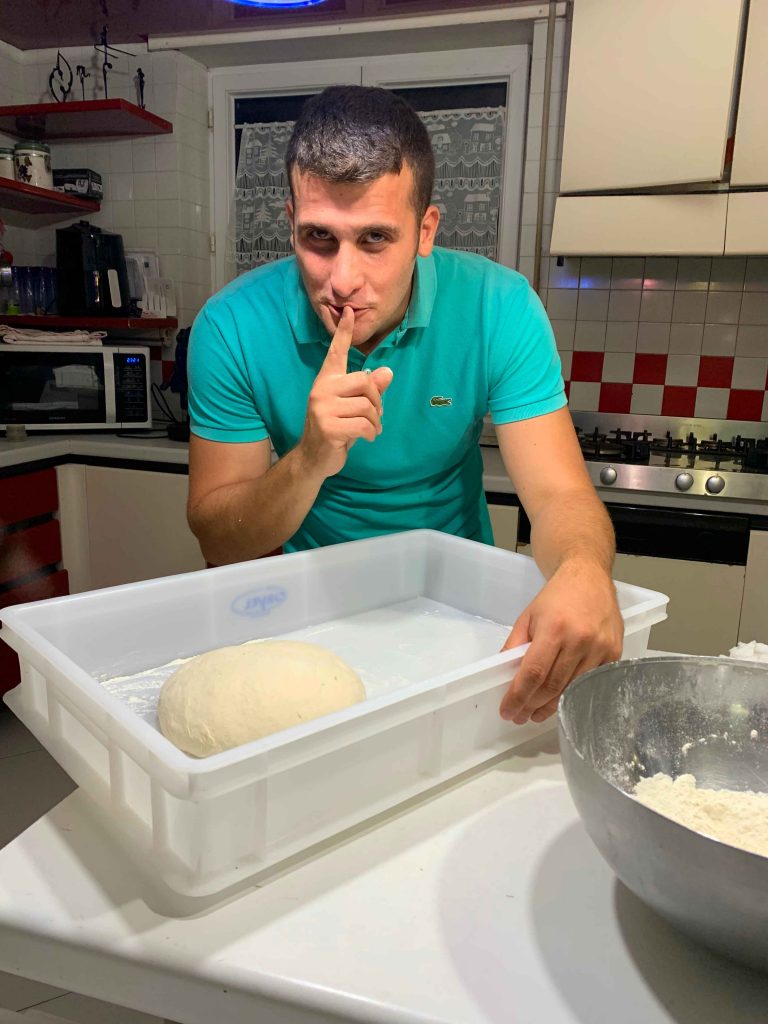
Take out the dough balls 4 h before we intend to spread them, and leave them covered at room temperature to restart the leavening phase.
After 3-4 h our pats will be at an optimal stage of both maturation and leavening. At this point we can move forward with the spreading phase.
While waiting for the maturation phase, and an h before we intend to spread the dough, we will have set the oven in order to bring it up to temperature.
The oven’s temperature in order to cook a Neapolitan pizza needs to be around 400°/450°C and the pizza needs to cook for few minutes.
Once the temperature of the oven is ready we can move on to the spreading phase.


